CLI Quick Start
This page shows how to use AATM entirely from the command line.
It is focused on the actual CLI workflow exposed by the commads: init, map, and search-ui.
What you can do from the CLI
With the CLI, you can:
- initialize the local environment
- build the local SQLite vocabulary database
- build the mapping datasets
- build the local vector database
- run terminology mapping jobs
- launch the interactive search UI
The main commands are:
aatm initaatm mapaatm search-ui
1. Prepare your OMOP vocabularies directory
Before running aatm init, download the OMOP vocabularies you want to use and place them in a directory. You can find them at https://athena.ohdsi.org/vocabulary/list
By default, the CLI expects it at the root directory:
If you do not use that location, you can point the CLI to a different directory with the option --vocab-dir or -vd. The CLI validates this path during initialization.
2. Run the initialization command
The init command is the main CLI setup workflow.
It does all of the following for you:
- creates the local
.aatmhelper directory where the local databases and aatm config files will be stored - ensures
.aatmis added to.gitignore - builds the local OMOP SQLite database
- lets you choose an embedding model
- lets you choose the standard vocabularies
- builds the mapping datasets
- builds the local vector database
That means you do not need to call Python setup functions manually for the normal setup flow. At the end, you will be ready to run terminology mapping tasks.
Simplest setup
This uses the default vocab directory and interactively asks you to choose the embedding model, standard vocabularies and other options.
Setup with a custom vocab directory
Setup with an explicit embedding model
Setup with explicit standard vocabularies
Fully explicit setup
aatm init \
  --vocab-dir ./vocabularies \
  --embedding-model embeddinggemma-300M \
  --standard-vocabs LOINC \
  --standard-vocabs SNOMED \
  --standard-vocabs RxNorm
3. Prepare your input CSV
After initialization, prepare the CSV you want to map.
The mapper expects an OMOP-style SOURCE_TO_CONCEPT_MAP input structure, including these columns:
source_codesource_concept_idsource_vocabulary_idsource_code_descriptionvalid_start_datevalid_end_dateinvalid_reason
Example:
source_code,source_concept_id,source_vocabulary_id,source_code_description,valid_start_date,valid_end_date,invalid_reason
A01,,LOCAL,"Dor no peito",2020-01-01,2099-12-31,
B02,,LOCAL,"Diabetes mellitus tipo 2",2020-01-01,2099-12-31,
4. Run mapping directly from the CLI
The map command runs a terminology mapping task. You can use it in two ways:
- with a task config file
- with explicit CLI options
Both paths are supported directly by the CLI implementation.
Option A: run from explicit CLI arguments
This is the most direct fully-CLI workflow.
aatm map \
  --input-file data/source_to_concept_map.csv \
  --output-dir output \
  --translator-id empty-translator \
  --retriever-id embeddinggemma-300M \
  --reranker-id bm25-reranker \
  --selector-id first-result-selector \
  --batch-size 100
Run a small test job
Use --limit-to when you want to test with only a few rows.
aatm map \
  --input-file data/source_to_concept_map.csv \
  --output-dir output \
  --translator-id empty-translator \
  --retriever-id embeddinggemma-300M \
  --reranker-id bm25-reranker \
  --selector-id first-result-selector \
  --limit-to 20
Apply rate limiting
If needed, you can also pass a rate limit:
aatm map \
  --input-file data/source_to_concept_map.csv \
  --output-dir output \
  --translator-id gemini-2.5-flash \
  --retriever-id embeddinggemma-300M \
  --reranker-id bm25-reranker \
  --selector-id first-result-selector \
  --batch-size 50 \
  --rate-limit 100
The CLI accepts all of these options directly.
Option B. Run mapping from a config file
The other CLI workflow is to store the mapping task in a config file and pass it with --task-config-path or -t.
Example command
When you do this, the CLI loads the task config file and runs the mapping task from it.
Example task config
Task config files are supported as .yaml or .json files.
This is useful when you want reproducible runs or reusable task definitions.
5. Launch the search UI from the CLI
You can also launch the Streamlit-based search interface directly from the CLI:
The CLI resolves the packaged search_ui.py file and launches it through Streamlit using the current Python interpreter.
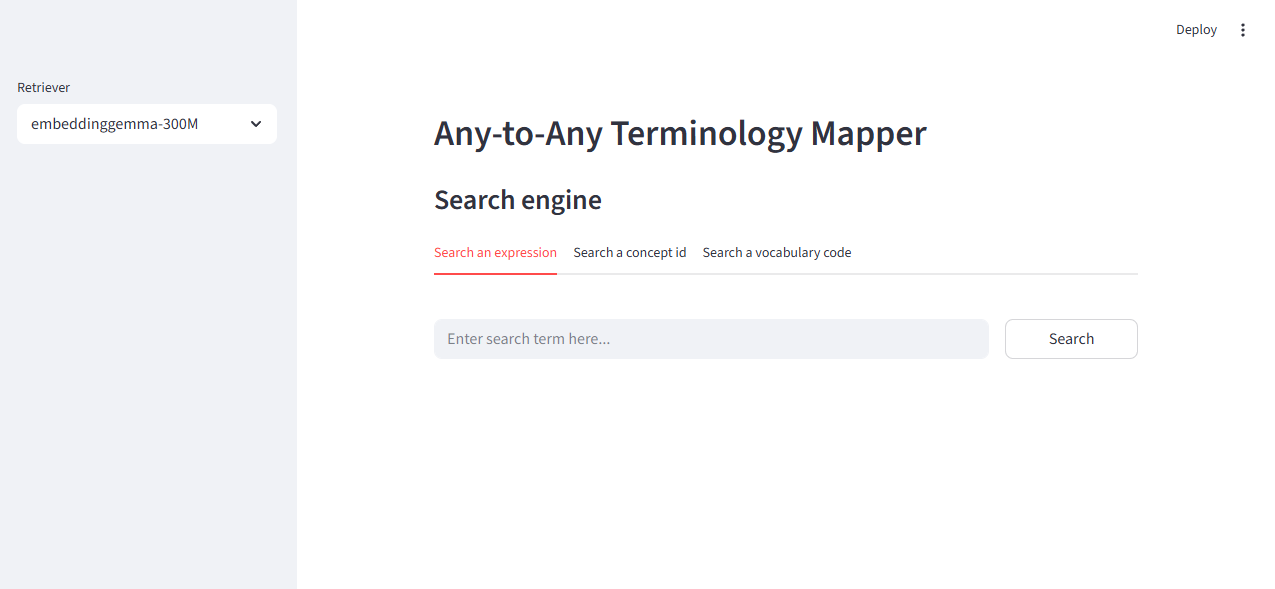
Streamlit search UI screenshot.
6. What gets created locally
After a normal CLI setup and mapping workflow, you will typically have local artifacts such as:
And your mapped output will typically be written to:
The CLI init command is responsible for creating the local helper resources, and the map command runs the terminology mapping workflow.
7. End-to-end CLI example
Here is a full CLI-only path.
Step 1: initialize
aatm init \
  --vocab-dir ./vocabularies \
  --embedding-model embeddinggemma-300M \
  --standard-vocabs LOINC \
  --standard-vocabs SNOMED \
  --standard-vocabs RxNorm
Step 2: run mapping
aatm map \
  --input-file data/source_to_concept_map.csv \
  --output-dir output \
  --translator-id empty-translator \
  --retriever-id embeddinggemma-300M \
  --reranker-id bm25-reranker \
  --selector-id first-result-selector \
  --batch-size 100
Step 3: inspect output
You should see the mapped CSV file there.
Step 4: optionally launch the search UI
8. Troubleshooting
aatm init says the vocabulary directory does not exist
Make sure your OMOP vocabulary files are present in ./vocabularies, or pass the correct path with:
The CLI explicitly checks whether the provided directory exists.
aatm init says the embedding model is unsupported
Use one of the supported model names listed in this page. The CLI validates the model name before continuing.
aatm map says the task config file does not exist
Check the path you passed to:
The CLI verifies that the config file exists before loading it.
Retrieval fails at mapping time
Make sure you ran aatm init first and successfully built the local vector database for the retriever you want to use.
API-backed components fail
Check that your .env file contains the required API keys.